Thursday, March 19, 2015

3-D Photography

Practice:


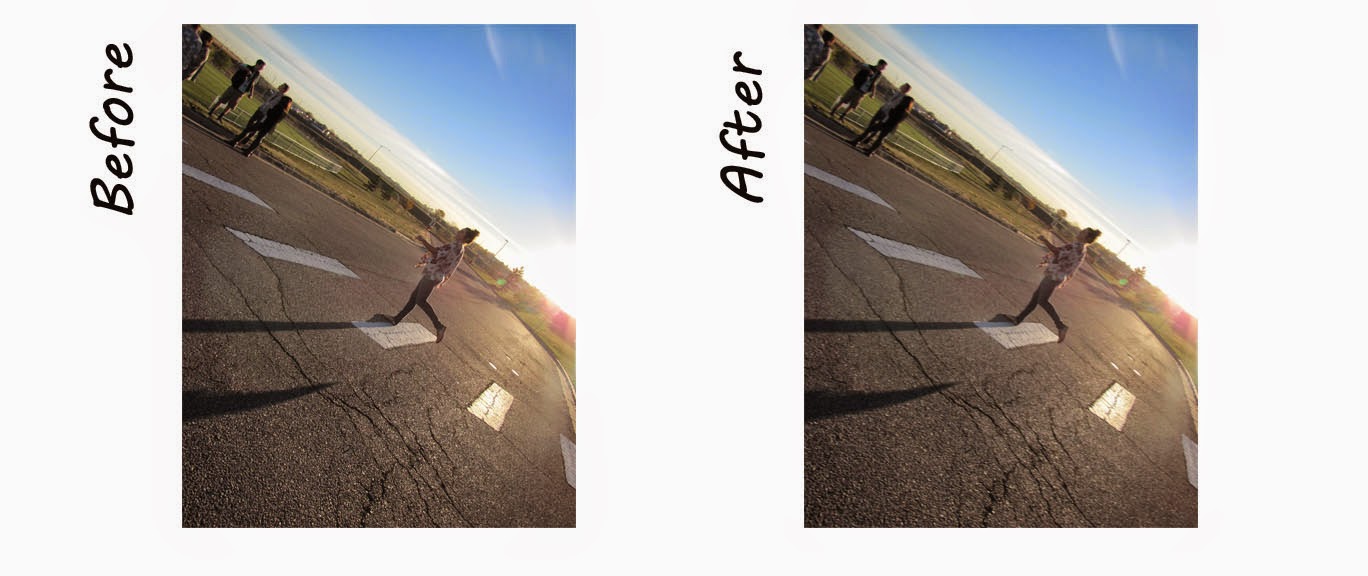
This is 3-D photography. These are two of the practices I did. How you achieve this effect is taking a picture then slightly move the camera to the left of right. In Photoshop one would stick the second picture on top of the first. Set it slightly off and double click on the top layer. Un-check the red color. Put the glasses on and make necessary adjustments. To finish do basic correction and flatten the image.  

Outside Photos:


These two have the same effects but they where taken outside of class.


Monday, March 9, 2015

Painting with Light

This is a picture of painting with light. To achieve this one must open the shutter and wave light around. This is one that is untouched in Photoshop.

These both are multiple pictures in one. The first one is a tribute to Breast Cancer. The last one was just a fun project to waist time. 
This is one with the pencil effect on Photoshop. 

Monday, March 2, 2015

Motion Blur


This is motion blur. This is a Photoshop technique in which you blur a still picture in the direction of the motion. 

Monday, February 23, 2015

Gaussian Blur

Depth of Field: 

This is using Photoshop to create a maximum and minimum depth of field. In Photoshop one can go to filter, blur, and then Gaussian Blur. From that point one takes the history tool brush to create the depth of field.

0-50-100:


When using this technique it creates a better and more realistic look. The first plan is 100 opacity and flow, the next is 50 opacity and flow, and the last one 0 opacity and flow. This creates a nice even flow.

Thursday, February 12, 2015

Comic Book Cover

Color Halftone:
Regular:
The purpose to this project is to create a Comic Book Cover. To create this, I had to get internet images for the "bang", "Pow", and "Wham". In addition, I added the bomb in the background from the internet. I also added the price tag and bar code. Using the text tool I added the issue tittle, speech bubble, volume number, and the tittle. To get the comic book effect I added the color halftone in Photoshop. The second one is with out the color halftone effect.

Monday, February 2, 2015

Indoor Macro: Color Selection


This is still Indoor Macro but with a little twist. I color selected the color of each pencil. This emphasis the colors.

Friday, January 30, 2015

Indoor Macro Photography


Light Box: 

Table with Pillow Lights: 


This is Indoor Macro Photography. The way this type of photography is getting in not just close but ultra close. These can emphasis the texture of an object and sometimes can leave the viewer to guess what it is. "Macro opens a whole new world that we wouldn't ordinary visit." (Rowsam 2015). The first picture is in the light box. The light box allows the light to shine through transparent objects and helps to emphasis the texture. The next three photos are taken on the table with a white even background and pillow lights shinning over the objects. The pillow light gives the soft look to the picture. Each of these pictures where taken ultra close, thus, the success in the Macro Photography genre.